contact@mbirrigation.co.uk


Bespoke Automatic Garden Irrigation Design
Designing an automatic garden irrigation system tailored to your specific landscape involves key considerations to ensure optimal performance, uniform coverage, and maximum water efficiency.
Information Required
To create your individual layout, please provide us with the following details:
- Scale Plot Diagram: A scaled drawing or sketch of your garden including overall dimensions. Please clearly mark buildings, pathways, lawns, flower beds, and specific planting zones (e.g., hedges, shrubs, conifers).
- Water Source: Indication of your primary water supply on the diagram (e.g., mains water supply, borehole, or deep well).
- Flow Rate: The water flow from your intake. You can measure this by timing how long it takes to fill a bucket of a known volume (e.g., a 10-litre bucket).
- Water Pressure: The static and dynamic water pressure parameter, measured in bar.
- Valve Box Location (Optional): Your preferred location on the plot diagram for the solenoid valve box. If left unmarked, we will position this at our professional discretion.
- Controller Selection: Your preference for an indoor or outdoor irrigation controller. If no preference is stated, an indoor model will be selected by default.
What You Will Receive
Following our assessment, your comprehensive design package will include:
- Bespoke System Design: A fully tailored automatic irrigation layout engineered specifically for your garden’s dimensions and layout.
- Complete Bill of Materials: A detailed itemised list of all necessary components, pipework, and fittings required for installation, alongside a competitive price offer.
Contact & Turnaround Times
- Lead Time: The estimated turnaround time for project design completion during peak season is 7–14 working days.
- Support: If you have any questions regarding your project or would like to request modifications, please contact our design team directly at: project@mbirrigation.co.uk
Example Projects & Costing
*Please note that the project featured below is provided as an illustrative example of system sizing and component costs.

Small Automated System
This system utilises premium Hunter pop-up sprinklers combined with high-quality fittings from the US-based world leader in irrigation technology. Fully automated, it features smart remote management, allowing you to control your watering schedules effortlessly via your smartphone.
| Pop-up Sprinklers: | 6 pcs |
| Zones/Sections: | 2 |
| Plot Dimensions: | 20m x 13m (approx. 260m²) |
| Estimated Hardware Cost: | £649 (inc. VAT) |
*Cost covers components and hardware only; professional installation is not included.
Need a Custom Design for Your Garden?
Get a professional, bespoke automatic irrigation layout engineered specifically for your landscape’s dimensions and water parameters.
Please note: The design fee will be fully deducted from the total cost of your components when you purchase the complete system from our shop.
Bespoke Automatic Sprinkler System Installation
Installing an automatic garden irrigation system tailored to your landscape ensures hassle-free maintenance, uniform coverage, and maximum water efficiency. To reassure you, 99% of the system sits completely out of sight underground, only emerging when watering is in progress.
The Installation Process
0. Pre-installation & Water Source: Before the irrigation system can be installed, a reliable and adequate main water connection must be routed directly to the garden area. To comply with local regulations and ensure proper backflow prevention, this external water point must be fitted and signed off by a certified, professional plumber.
1. Design & Planning: Before we dig a single trench, we assess your garden’s layout and test your outdoor tap’s water pressure and flow rate. Based on this, we divide the space into zones to ensure optimal coverage.
2. Lifting the Turf & Trenching: To keep disruption to an absolute minimum, we neatly slice and lift the existing turf, setting it aside. We then dig narrow trenches, roughly 30 to 40 cm deep, to house the pipes safely below the frost line.
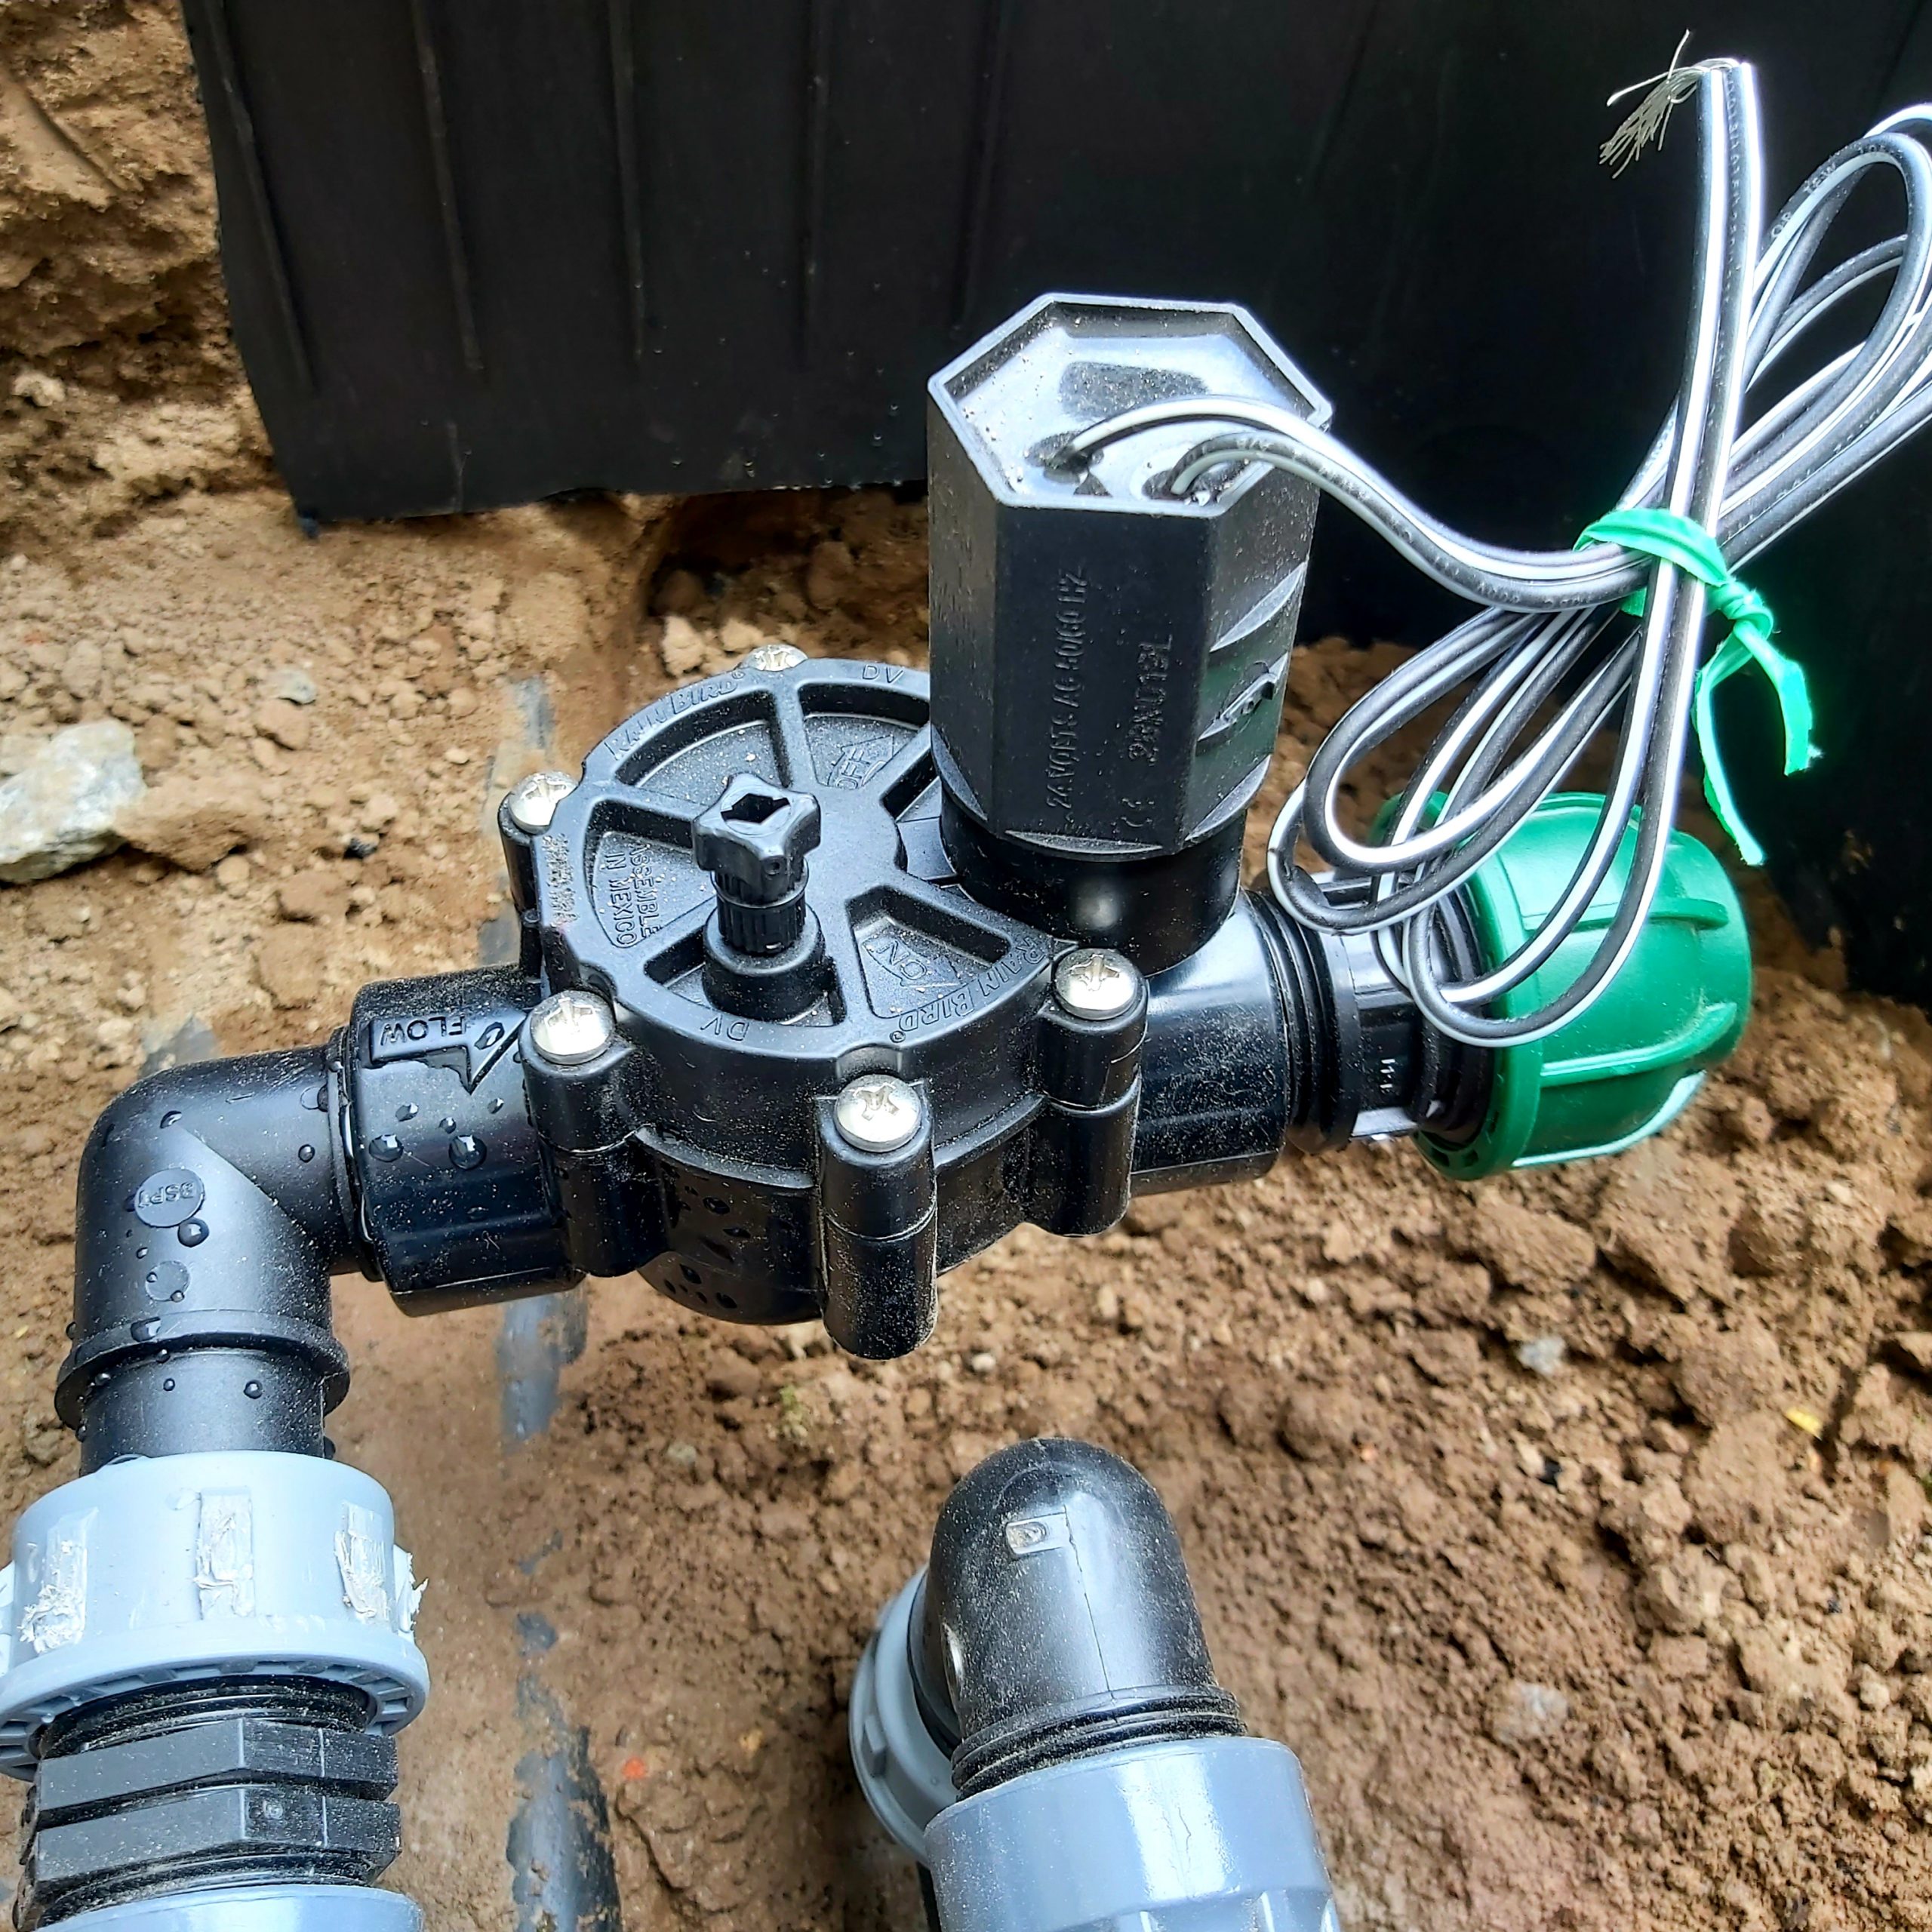
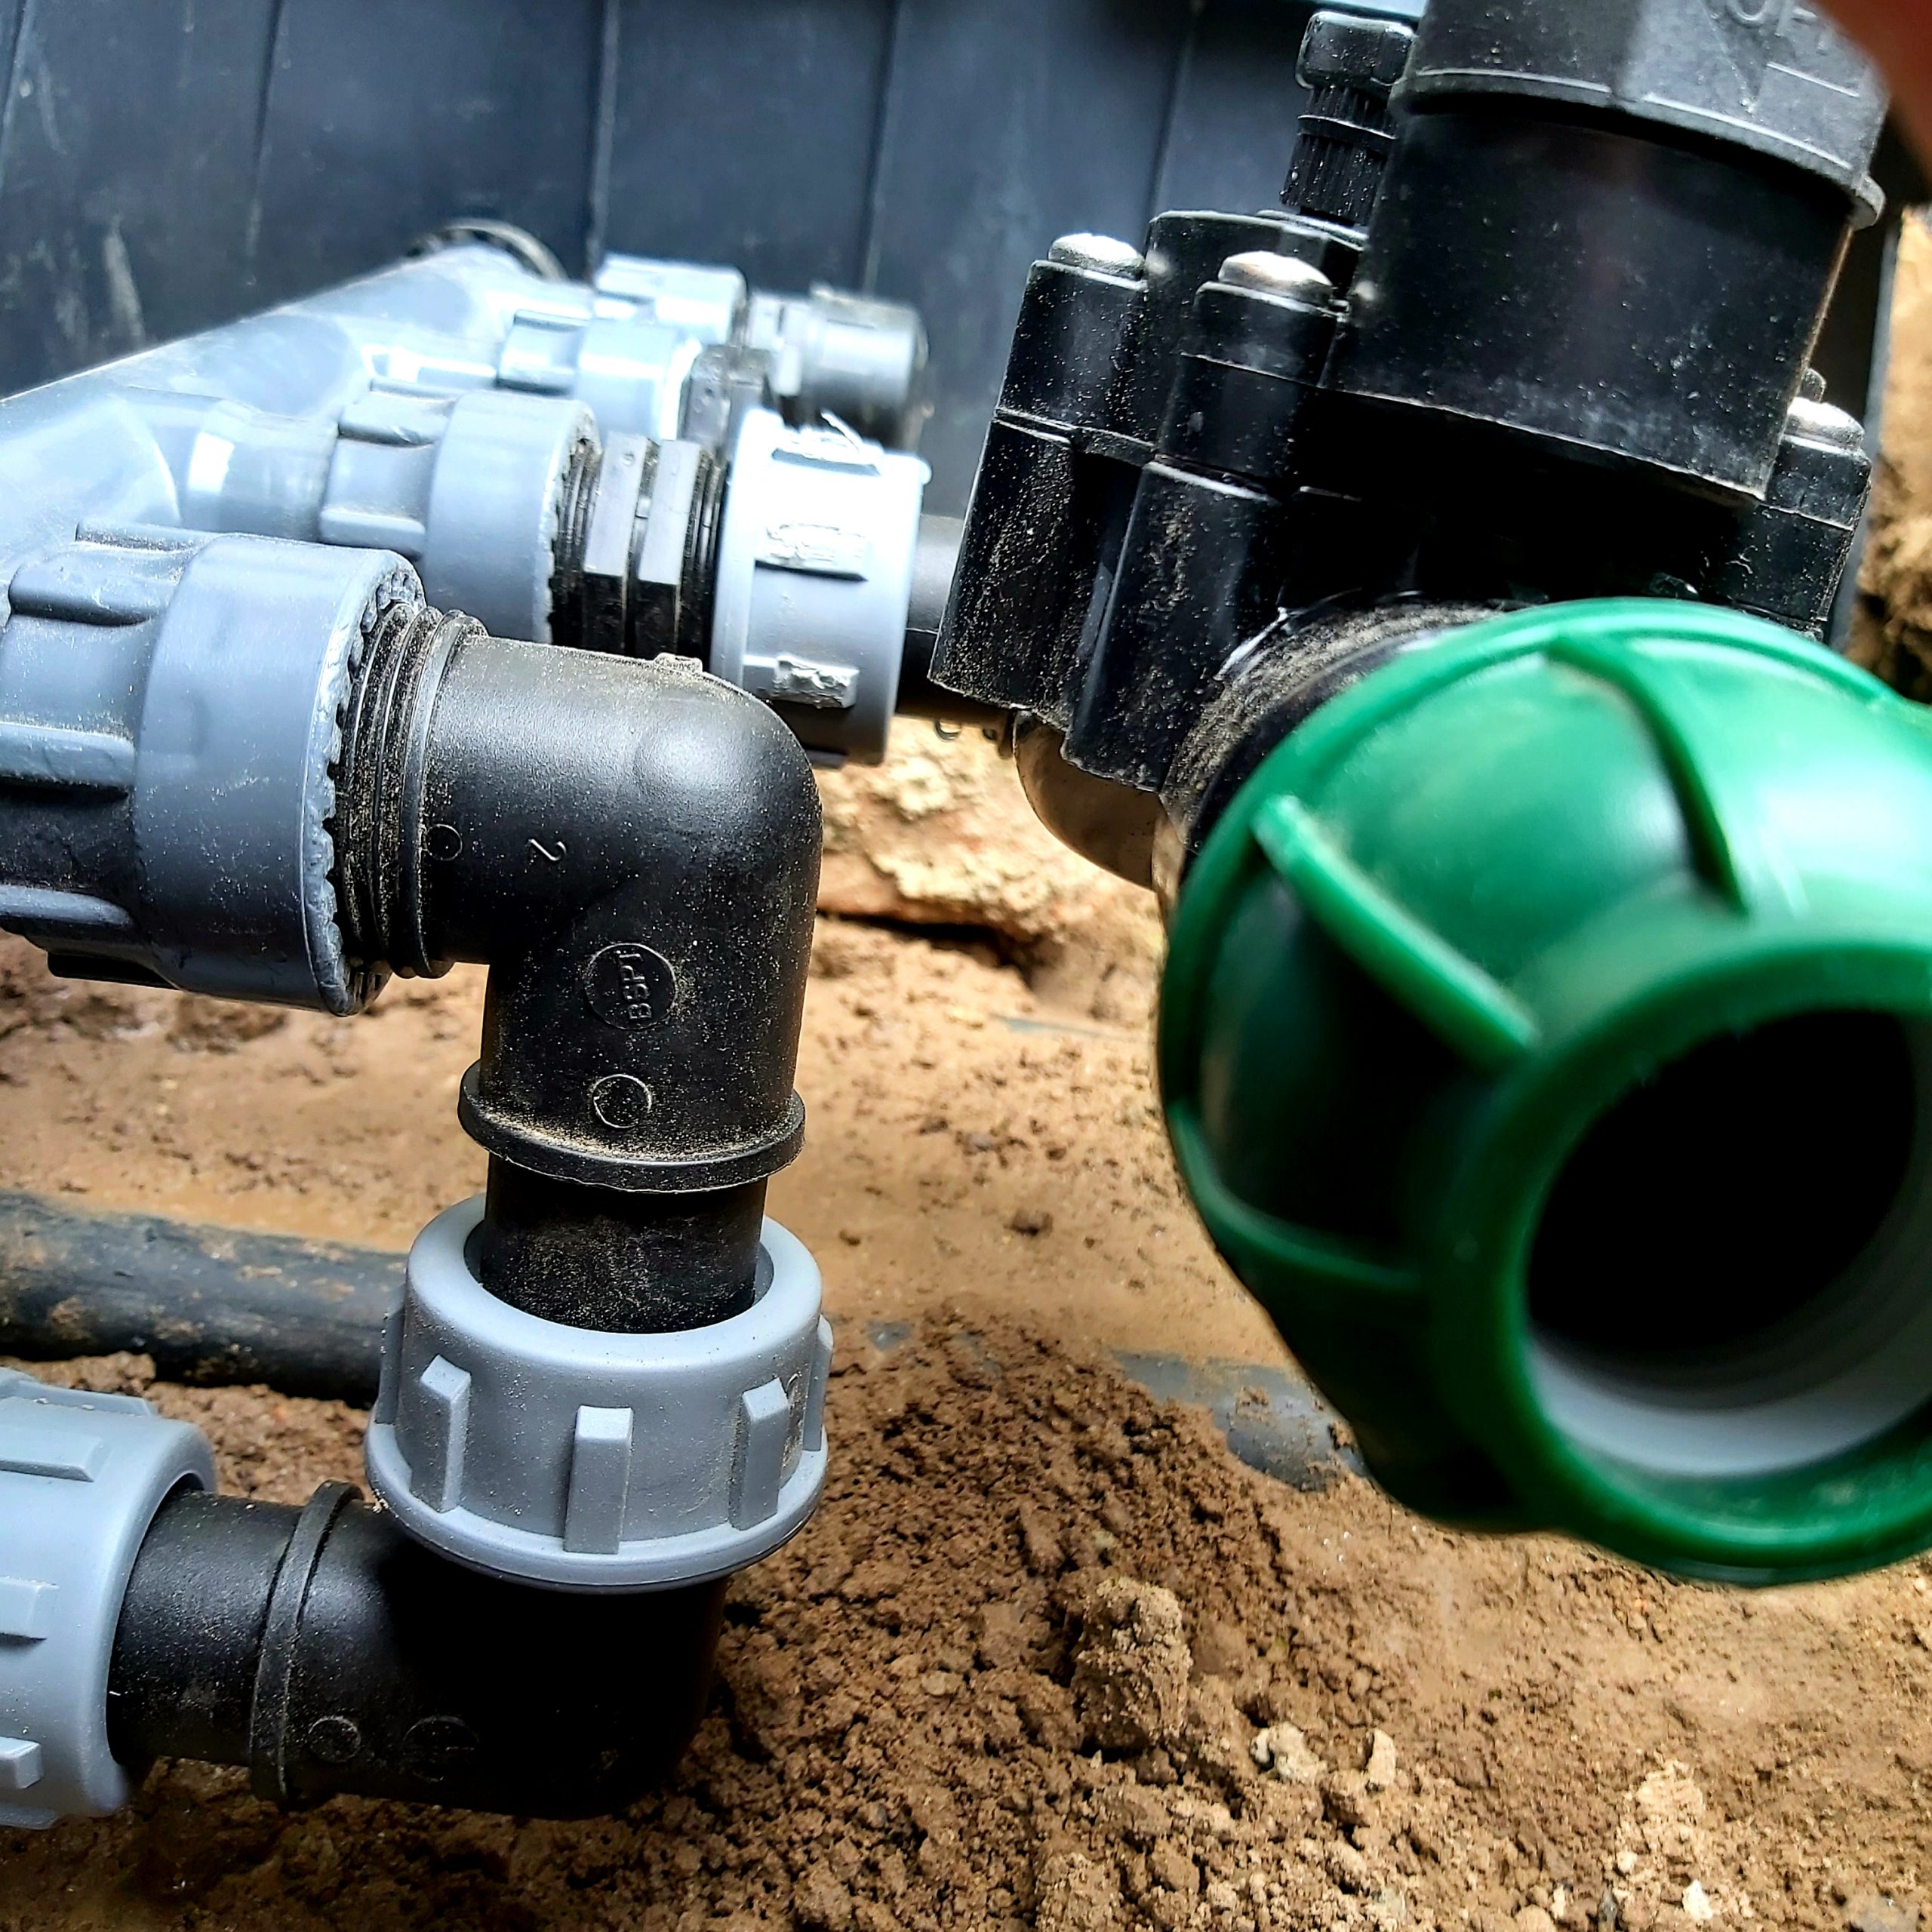
3. Piping & Valving: We lay durable, flexible MDPE pipes into the trenches. These connect back to a central hub hidden inside an underground valve box containing solenoid valves—essentially automated taps.
4. Pop-up Sprinklers: The sprinkler bodies sit completely flush with your lawn’s soil level, allowing you to walk or run a lawn mower right over them. When water pressure turns on, they lift up to water the grass, and pull right back down once finished.
5. Controller & Rain Sensor: We install a wall-mounted controller in a convenient spot (e.g., garage or utility room) and wire it to the valves. A smart outdoor rain sensor is integrated to skip watering cycles automatically when it rains.
6. Pressure Testing & Calibration: Before backfilling, we perform a live pressure test to check every joint for leaks and fine-tune the spray arcs to ensure water goes precisely where it is needed.
7. Reinstating the Lawn: We backfill the trenches, compact the soil, and carefully relay your original turf. Within a couple of weeks, the lawn heals completely, leaving the system entirely invisible.
Contact & Support
Queries: If you have any questions regarding the installation timeline or would like to request modifications to your layout, please contact our team directly at: project@mbirrigation.co.uk