
How to Install a Drip Irrigation System In Your Garden
How to Install a Drip Irrigation System In Your Garden.
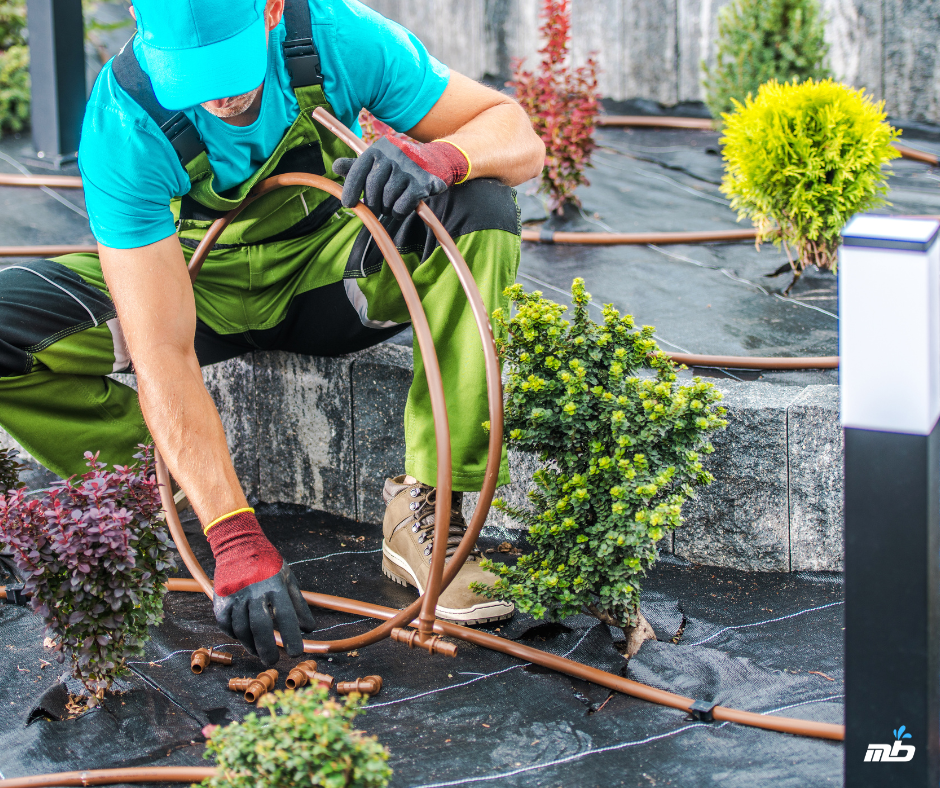
Installing a drip irrigation system in your garden is a great way to efficiently deliver water directly to the plants’ root zones, reducing water waste and promoting healthier growth. Here’s a step-by-step guide to help you set up a drip irrigation system:
Plan Your System Layout
Start by mapping out your garden and identifying the areas where you want to install the drip irrigation. Consider the types of plants and their specific water needs. Sketch a layout that includes the mainline, lateral lines, and the placement of emitters.


Gather Necessary Materials
You’ll need drip tubing, emitters (drippers), connectors, stakes, a pressure regulator, a filter, and a timer if you wish to automate the system. Make sure to choose components compatible with your water source.
Install the Mainline
Lay out the mainline tubing from your water source to the garden. Secure it in place using stakes. The mainline will carry water to different parts of the garden.


Lay Out Lateral Lines
Attach lateral lines to the mainline using connectors. These lines will branch out to cover individual rows or sections of the garden. Ensure they are placed close to the plants you intend to water.
Add Emitters
Place emitters along the lateral lines near the base of each plant. Choose emitters with flow rates that match the water needs of your plants. You can use adjustable emitters for more flexibility.


Attach a Pressure Regulator and Filter
Connect a pressure regulator and filter to the mainline at the water source to protect the system from debris and ensure even water flow. This step is crucial for preventing clogging and maintaining efficiency.
Connect to the Water Source
Attach the system to your water source, ensuring all connections are secure to prevent leaks. Use Teflon tape on threaded connections to enhance the seal.


Test the System
Turn on the water and check for any leaks or blockages. Ensure that water is reaching all emitters and that the system is distributing water evenly across your garden.
Set Up a Timer (Optional)
-
- For added convenience, install a timer to automate watering schedules. This ensures your plants receive consistent moisture, even when you’re not around.
Regular Maintenance
-
- Periodically check the system for clogs, leaks, or damage. Clean the filter regularly and adjust emitters as needed to accommodate plant growth or changes in the garden layout.
By following these steps, you can effectively install a drip irrigation system that conserves water and supports healthy plant growth in your garden. This setup not only saves time and effort but also contributes to a sustainable gardening practice.