
How to fit a ball valve?
How to fit a ball valve?
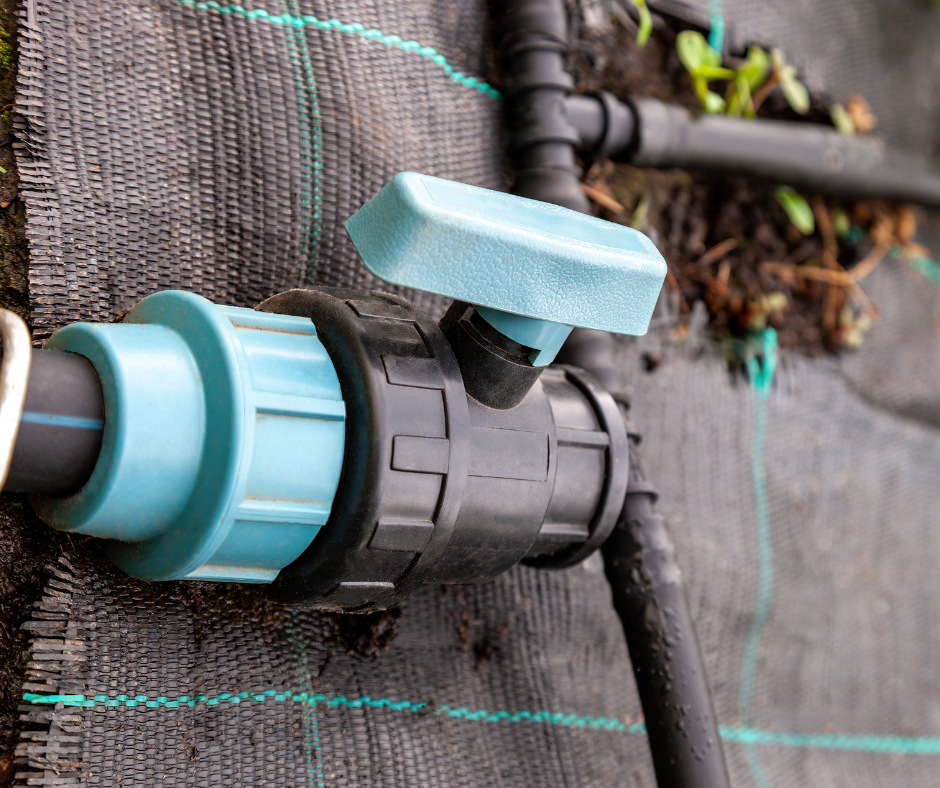
Fitting a ball valve into your irrigation system is a straightforward process that can enhance control over water flow. Here’s a step-by-step guide to help you install a ball valve:
- Gather Your Tools and Materials: You’ll need a wrench, pipe cutter, Teflon tape, and the appropriate fittings for your irrigation piping, along with the ball valve itself.
- Turn Off the Water Supply: Ensure the water supply is shut off to prevent any leaks or water damage during installation.
- Cut the Pipe: Use the pipe cutter to make a clean, straight cut where you want to install the ball valve. Ensure the cut ends are free of burrs or rough edges.
- Prepare the Pipe Ends: Wrap Teflon tape around the threads of the pipe ends to ensure a watertight seal.
- Install the Ball Valve: Attach the ball valve to the pipe ends. If the valve is threaded, screw it onto the pipe threads snugly. For a slip-fit connection, you may need to use PVC primer and cement for a secure fit.
- Tighten the Connections: Use a wrench to ensure all connections are tight, but be careful not to over-tighten as this could damage the fittings.
- Check for Leaks: Slowly turn the water supply back on and check the connections for any leaks. If leaks are detected, slightly tighten the connections or reapply Teflon tape as needed.
- Test the Valve Operation: Open and close the ball valve several times to ensure it operates smoothly and provides a good seal.
By following these steps, you can effectively install a ball valve, allowing you to control the flow of water to different sections of your irrigation system with ease.