
Step-by-Step Guide: How to Install Compression Fittings on MDPE Pipe Without Leaks
There is nothing more satisfying than turning on your automated garden irrigation system for the first time and watching a perfectly timed zone spring into action. However, that satisfaction can instantly evaporate if you look down at your underground valve box or perimeter trench and notice a steady, high-pressure hiss of water escaping from one of your plumbing joints. Leaks in compression fittings are the bane of every landscaping project, but they are completely avoidable if you follow the correct trade procedures.
Plastic compression fittings are engineered to create a permanent, watertight, and high-pressure seal on Medium-Density Polyethylene (MDPE) supply pipes without the need for specialist welding tools. But while they are straightforward to use, skipping subtle preparation steps will guarantee a blowout down the line. At MB Irrigation, we build these grids every single day around Cheshire. Here is our step-by-step trade guide to getting a flawless, leak-free compression joint on your primary supply mainlines.
The Golden Tool: Why You Absolute Need an MDPE Pipe Liner
Before we pick up a pipe cutter, we need to talk about the single most critical component in any compression layout: the MDPE Pipe Liner (sometimes called a stiffener or insert). If you attempt to connect a plastic compression tee or elbow to an MDPE water pipe without dropping a liner inside the pipe walls first, your joint will eventually leak or blow apart completely under full mains water pressure.
Why is this small plastic sleeve so vital? MDPE is incredibly strong, but under constant hydraulic pressure or when the ground shifts and settles during harsh British winters, the pipe walls can compress, distort, or ovalise slightly. The mechanical collar of the compression fitting applies immense external force. Without an internal pipe liner to provide structural backing, the pipe simply deforms under that pressure, allowing water to sneak past the internal O-ring seal. Using a liner is also an absolute requirement to meet UK WRAS water regulations for primary mains connections.
Step-by-Step Trade Installation Process
Step 1: Get a Square, Clean Cut
Never try to slice through rigid MDPE pipe with a standard hacksaw. A hacksaw creates ragged, angled edges and burrs that will easily tear or dislodge the delicate rubber O-ring hidden inside your compression fitting as you push the pipe into place. Always use a dedicated, sharp wheel pipe cutter or heavy-duty plastic shears. Ensure your cut is perfectly square (at a 90-degree angle to the pipe run) to guarantee maximum insertion depth all the way around the fitting.
Step 2: Deburr and Chamfer the Edges
Once your cut is square, inspect the end of the MDPE pipe. Remove any loose plastic shavings from the inside and outside edges. For the best results, use a chamfering tool to slightly bevel the outer edge of the pipe. A smooth, angled nose makes sliding the pipe past the tight rubber O-ring effortless and safe.
Step 3: Insert the MDPE Pipe Liner
Push the correct size pipe liner (such as a 25mm or 32mm insert) fully into the end of your clean MDPE pipe until the small shoulder sits flush against your square cut. If it feels tight, tap it gently into place against a flat surface or a piece of timber. Your pipe walls are now reinforced and ready to handle mechanical pressure.
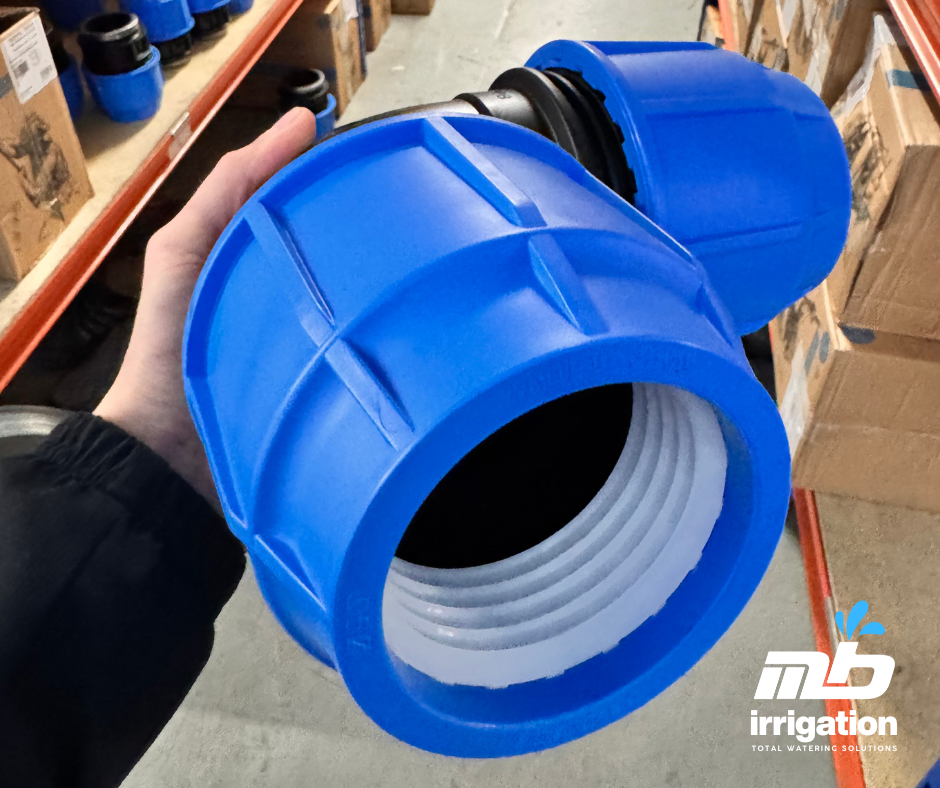
Step 4: Prepare the Compression Fitting
Look at your plastic compression fitting. You don’t need to completely dismantle it. Simply loosen the outer nut by a few turns. Inside, you have the nut, a split plastic split-ring (the grip ring), a thrust washer, and the critical rubber O-ring. Loosening the nut creates enough clearance for the pipe to pass through safely.
Step 5: The Crucial Push (Mind the O-Ring!)
Push your prepared MDPE pipe firmly into the fitting. You will feel a distinct point of resistance after a centimeter or two. This is NOT the final depth. This is just the pipe reaching the internal rubber O-ring. You must apply force and push the pipe firmly past the O-ring until it hits the final internal pipe stop. This extra push is where many DIY installers fail, leaving the joint short of the rubber seal and guaranteeing an immediate leak.
Step 6: Hand Tighten and Apply the Torque
Once the pipe is fully bottomed out, spin the outer compression nut down by hand until it is tight. For smaller sizes like 20mm and 25mm, a strong hand tightening combined with a quarter-turn using a dedicated compression fitting wrench (or strap wrench) is perfectly sufficient to lock the split-ring onto the pipe walls. For larger commercial sizes like 32mm and 40mm, always use a proper fitting wrench to secure the final lock. Be careful not to overtighten and crack the plastic threads.
A Final Note on Threaded Connections
If you are screw-mounting a male or female threaded adaptor into a solenoid valve or a pump feed, remember that compression threads do not seal themselves. Always wrap the male threads with high-quality PTFE thread seal tape (roughly 10 to 15 wraps clockwise) to ensure a perfectly watertight seal across your manifold box nodes.
By taking those few extra seconds to clean your cuts, slide in your structural liners, and push fully past the internal rubber O-rings, you create an underground irrigation grid built to last a lifetime. If you are tracking down a stubborn leak or gathering heavy-duty poly parts for your next project near Warrington or across Cheshire, explore the trade-approved plumbing stock at MB Irrigation today for local advice and fast UK delivery.